Jekyll setup
Jekyll is a toolset for taking a few snippets of markdown and transforming it into a network of HTML that can be hosted online. I found the Jekyll tutorial and setup online to be fantastic, so no point in replicating all that here.
I’ll just document what worked for me, and some little issues that I ran into.
Jekyll installation
Start with
gem install jekyll bundle webrick
Then,
jekyll new website
which failed for me, as it wanted sudo privilage and I denied it.
But, it does make the website/ directory, which you can fix with the next commands.
Warning: this takes a while, so it may seem like it’s hanging–its not (probably)!
bundle config set --local path 'vendor/bundle'`
bundle install
This allows bundle to install files locally in the website repository, which avoids putting them in root-owned directories.
Now, you can make some renames safely:
mv index.markdown index.md
mv about.markdown about.md
and edit those as you like.
Edit the _config.yml file, and look up it’s options for some very important customizations.
Serving locally
Use:
bundle exec jekyll serve --livereload
to open a port to your site located at http://127.0.0.1:4000.
Because you used --livereload, it will update as you start making changes to your site.
You should see the intro.md and about.md already there.
Serving online
I used Github Pages to serve the website online.
Once you’ve checked things are working locally, you can make a repository, <github-username>.github.io and push your website to it.
You’ll want to include:
git add index.md about.md _pages .gitignore 404.html _config.yml
Now, on github, near your latest commit, it will have a build process that you can click for more details.
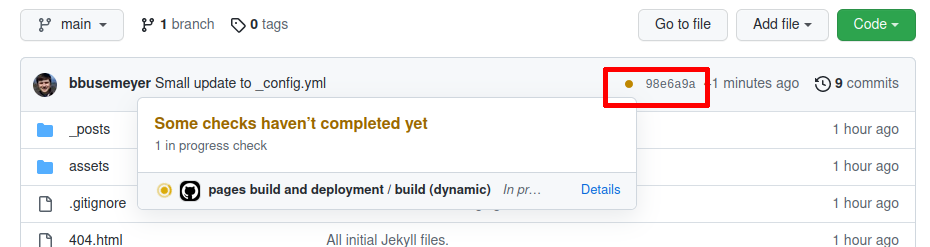
Once it is done, go to <github-username>.github.io and you should see your page.
If the build process failed, you need to debug it, which you can find by clicking for details on the build process inthe picture above.
Try debugging with the local server, since it is much easier.